Set up immuneML for development
Prerequisites
System requirements: at least 4GB of RAM memory and 15GB of disk space.
A Python virtual environment using at least Python version 3.9 (newest version of Python is usually recommended). This can be created through Python venv or conda venv.
Under Windows, the Microsoft Visual C++ 14.0 or greater is required to install from requirements.txt.
Development setup
For development purposes, it is most convenient to clone the codebase using PyCharm. Alternatively, immuneML can be installed manually to be used with a different editor. When running into problems during installation, please check the Installation issues troubleshooting page.
Development setup with PyCharm
To set up the project in PyCharm, see the official JetBrains tutorial for creating a PyCharm project from an existing GitHub repository.
Manual development setup without PyCharm
Alternatively to using PyCharm, the following steps describe how to perform the process manually:
Create a directory where the code should be located and navigate to that directory.
Create and activate a virtual environment with Python 3.9 or later (if not already created). For example, using venv:
python3 -m venv ./immuneml_venv/
source ./immuneml_venv/bin/activate
Execute the command to clone the repository from the development branch:
git clone https://github.com/uio-bmi/immuneML.git@development
3. From the project folder (immuneML folder created when the repository was cloned from GitHub), install the requirements from the requirements.txt file (this file can be found in the immuneML root folder):
pip install -e .
If you want to install optional requirements install the relevant requirements file(s):
pip install -r requirements_DeepRC.txt
pip install -r requirements_TCRdist.txt
pip install -r requirements_KerasSequenceCNN.txt
pip install -r requirements_generative_models.txt
4. If not setting up the project in PyCharm, it might be necessary to manually add the root project folder to PYTHONPATH. The syntax for Unix-based systems is the following:
export PYTHONPATH=$PYTHONPATH:$(pwd)
Testing the development installation
Running Quickstart
To quickly test out whether immuneML is able to run, try running the quickstart command:
immune-ml-quickstart ./quickstart_results/
This will generate a synthetic dataset and run a simple machine machine learning analysis on the generated data.
The results folder will contain two sub-folders: one for the generated dataset (synthetic_dataset) and one for the results of the machine
learning analysis (machine_learning_analysis). The files named specs.yaml are the input files for immuneML that describe how to generate the dataset
and how to do the machine learning analysis. The index.html files can be used to navigate through all the results that were produced.
Running unit tests
For a thorough testing of the immuneML codebase, you can run the unit tests. For that purpose, you can
use unittest or pytest packages. Before running the tests, make sure the package is installed in your
environment, as they are not listed as a dependency in the immuneML package.
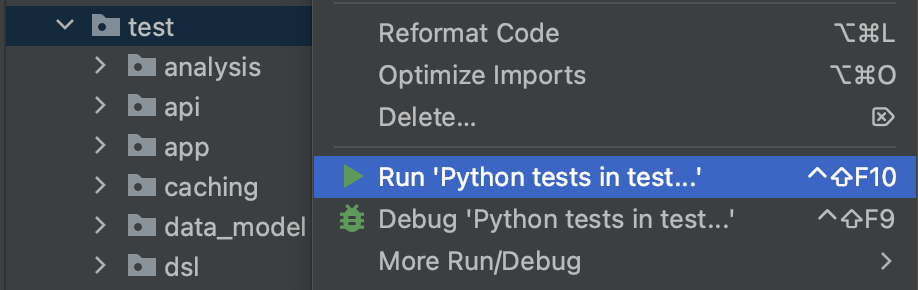
In PyCharm, unit tests can be run by right-clicking the folder named test at the project root, and clicking “Run ‘Python tests in test…’”.
Alternatively, unit tests can be run on the command line using the following command (see also: the official unittest documentation):
python -m unittest
Documentation of the development version of immuneML
The documentation of the development version of immuneML is automatically built on every push to the development branch and hosted at https://uio-bmi.github.io/immuneML/.